Decadent Mini Cheesecake Hearts
Highlighted under: Sweet Baking Recipes
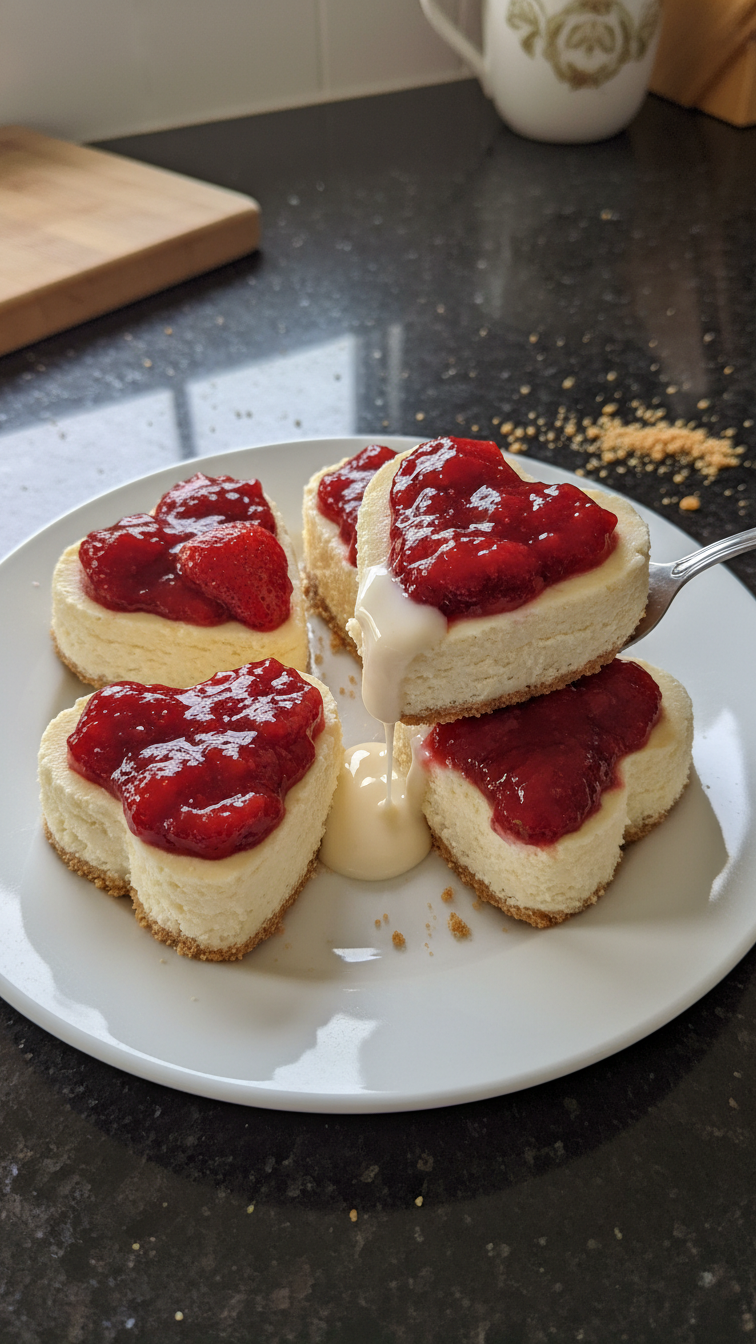
I absolutely adore making these Decadent Mini Cheesecake Hearts for special occasions. The combination of a creamy cheesecake filling nestled in a buttery graham cracker crust is simply irresistible. Each heart is a perfect bite-sized indulgence, ideal for sharing or savoring on your own. With a hint of vanilla and a luscious topping of fresh berries, these mini cheesecakes are sure to please any palate. Trust me, they are as delightful to make as they are to eat, creating smiles all around in the process!
During one family gathering, I decided to surprise everyone with these mini cheesecakes. I was thrilled to see how adorable and well-received they were. The heart shape made them perfect for the occasion, and the combination of flavors won over even the pickiest eaters.
I learned that letting the cheesecakes cool gradually helps prevent cracks on the surface, resulting in a more polished look! Plus, topping them with fresh berries not only elevates the visual appeal but also adds a burst of tartness that balances the sweetness beautifully.
Why You'll Love This Recipe
- Rich, creamy texture that makes each bite heavenly
- Beautifully shaped hearts, perfect for any celebration
- Customizable with your favorite fruits or toppings
Mastering the Cheesecake Filling
The key to an incredibly smooth cheesecake filling is to start with softened cream cheese. Make sure to leave it at room temperature for about 30 minutes before you begin mixing. This helps prevent lumps and ensures that the mixture blends smoothly with the sugar. When beating the cream cheese, use a stand mixer or an electric mixer set to medium speed, as this aerates the mixture and creates that rich, creamy texture.
When adding the eggs, it's important to incorporate them one at a time. This method allows each egg to fully blend into the creamy base without overmixing the batter, which can incorporate too much air and cause the cheesecake to crack during baking. Additionally, the lemon juice not only enhances the flavor but also helps in balancing the sweetness, making each bite incredibly delicious.
Perfecting the Baking Process
While baking the mini cheesecakes, keep an eye on them towards the end of the baking time. You want to look for a slight jiggle in the center; it shouldn't be completely firm, as this indicates that it may overbake. If you notice browning on the edges, it's a sign that the temperature might be too high. In this case, consider placing the pan on a lower rack for the last few minutes to ensure even baking.
After taking the cheesecakes out of the oven, it's essential to let them cool gradually. Rapid temperature changes can cause cracking. Allowing them to rest at room temperature for about 10 minutes before transferring them to the refrigerator will help them set properly. Chilling them for at least 2 hours will create a more luscious texture, making the flavors meld beautifully.
Serving and Storing Your Cheesecakes
These mini cheesecakes can be made ahead of time and stored in the refrigerator for up to three days, making them perfect for parties or special occasions. Once cooled, consider covering them with plastic wrap or placing them in an airtight container to keep them fresh. You can also freeze them for longer storage; just be sure to wrap them tightly in plastic wrap and aluminum foil to prevent freezer burn. They can be frozen for up to a month.
For an elegant presentation, try garnishing these mini cheesecakes with a variety of fresh berries. I love using a mix of strawberries, blueberries, and raspberries for a burst of color and flavor. A dollop of homemade whipped cream adds a delightful touch, and adding a sprinkle of lemon zest atop the fruit can elevate the experience with an extra layer of freshness.
Ingredients
Gather the following ingredients to create these delightful mini cheesecakes:
For the crust:
- 1 cup graham cracker crumbs
- 1/4 cup granulated sugar
- 1/2 cup unsalted butter, melted
For the filling:
- 16 oz cream cheese, softened
- 1 cup granulated sugar
- 1 teaspoon vanilla extract
- 3 large eggs
- 1 tablespoon lemon juice
For the topping:
- Fresh berries (strawberries, blueberries, or raspberries)
- Whipped cream (optional)
Make sure to have these ingredients on hand for the best results!
Instructions
Follow these steps to create your delightful mini cheesecakes:
Prepare the crust.
Preheat your oven to 325°F (160°C). In a bowl, mix the graham cracker crumbs, sugar, and melted butter until well combined. Press the mixture firmly into the bottom of heart-shaped silicone molds or mini cheesecake pans.
Make the filling.
In a large mixing bowl, beat the softened cream cheese until smooth. Gradually add the sugar and beat until combined. Add in the vanilla extract, eggs one at a time, and lemon juice, mixing until the mixture is creamy.
Fill the molds.
Evenly pour the cheesecake filling over the prepared crusts in the molds, filling them to about 3/4 full. Smooth the tops with a spatula.
Bake.
Bake in the preheated oven for about 25 minutes or until the edges are set and the center has a slight jiggle. Remove from oven and let cool for at least 10 minutes.
Chill and serve.
Refrigerate the mini cheesecakes for at least 2 hours or until fully chilled. Remove from molds, top with fresh berries and whipped cream if desired, and serve.
Enjoy your delicious mini cheesecakes!
Pro Tips
- For a chocolate variation, add cocoa powder to the filling and use chocolate cookie crumbs for the crust. Also, ensure your cream cheese is at room temperature for a smoother texture.
Ingredient Insights
The graham cracker crust is a classic choice, providing a sweet and buttery base for your cheesecakes. If you’re looking for a gluten-free alternative, crushed gluten-free cookies or almond flour can create a similarly delightful crust. Just remember to adjust the sugar based on your cookie choice, as some alternatives may be sweeter.
Using full-fat cream cheese is crucial for achieving that rich and creamy texture. If you need a lighter version, consider using a block-style reduced-fat cream cheese, but avoid cream cheese spread, as it has a different consistency that can affect the final outcome.
Troubleshooting Tips
If your cheesecakes crack while baking, it often means they were overbaked or the temperature was too high. To prevent this in the future, keep a close eye on them and practice a bit of patience when it comes to cooling them. You can also try baking them in a water bath, which helps maintain moisture and temperature consistency.
In case your cheesecakes don't easily release from the molds, let them sit at room temperature for a few minutes before attempting to remove them. This slight warming can help loosen them. If you're using silicone molds, gently pressing on the bottom can also help release them without damage.
Questions About Recipes
→ Can I make these mini cheesecakes ahead of time?
Absolutely! These mini cheesecakes can be made up to two days in advance and stored in the fridge.
→ How do I prevent cracks in my cheesecakes?
Bake your cheesecakes in a water bath and avoid overmixing to ensure a smooth texture and minimize cracks.
→ What other toppings can I use?
Feel free to get creative! Other delicious toppings include chocolate shavings, caramel sauce, or chopped nuts.
→ Can I freeze these mini cheesecakes?
Yes, they freeze well! Just wrap them tightly in plastic wrap and foil before placing them in the freezer. Thaw before serving.
Decadent Mini Cheesecake Hearts
Created by: The Freshbitesonly Team
Recipe Type: Sweet Baking Recipes
Skill Level: Intermediate
Final Quantity: 12 mini cheesecakes
What You'll Need
For the crust:
- 1 cup graham cracker crumbs
- 1/4 cup granulated sugar
- 1/2 cup unsalted butter, melted
For the filling:
- 16 oz cream cheese, softened
- 1 cup granulated sugar
- 1 teaspoon vanilla extract
- 3 large eggs
- 1 tablespoon lemon juice
For the topping:
- Fresh berries (strawberries, blueberries, or raspberries)
- Whipped cream (optional)
How-To Steps
Preheat your oven to 325°F (160°C). In a bowl, mix the graham cracker crumbs, sugar, and melted butter until well combined. Press the mixture firmly into the bottom of heart-shaped silicone molds or mini cheesecake pans.
In a large mixing bowl, beat the softened cream cheese until smooth. Gradually add the sugar and beat until combined. Add in the vanilla extract, eggs one at a time, and lemon juice, mixing until the mixture is creamy.
Evenly pour the cheesecake filling over the prepared crusts in the molds, filling them to about 3/4 full. Smooth the tops with a spatula.
Bake in the preheated oven for about 25 minutes or until the edges are set and the center has a slight jiggle. Remove from oven and let cool for at least 10 minutes.
Refrigerate the mini cheesecakes for at least 2 hours or until fully chilled. Remove from molds, top with fresh berries and whipped cream if desired, and serve.
Extra Tips
- For a chocolate variation, add cocoa powder to the filling and use chocolate cookie crumbs for the crust. Also, ensure your cream cheese is at room temperature for a smoother texture.
Nutritional Breakdown (Per Serving)
- Calories: 250 kcal
- Total Fat: 18g
- Saturated Fat: 10g
- Cholesterol: 75mg
- Sodium: 150mg
- Total Carbohydrates: 22g
- Dietary Fiber: 1g
- Sugars: 14g
- Protein: 3g