Frozen Yogurt Banana Pops
Highlighted under: Sweet Baking Recipes
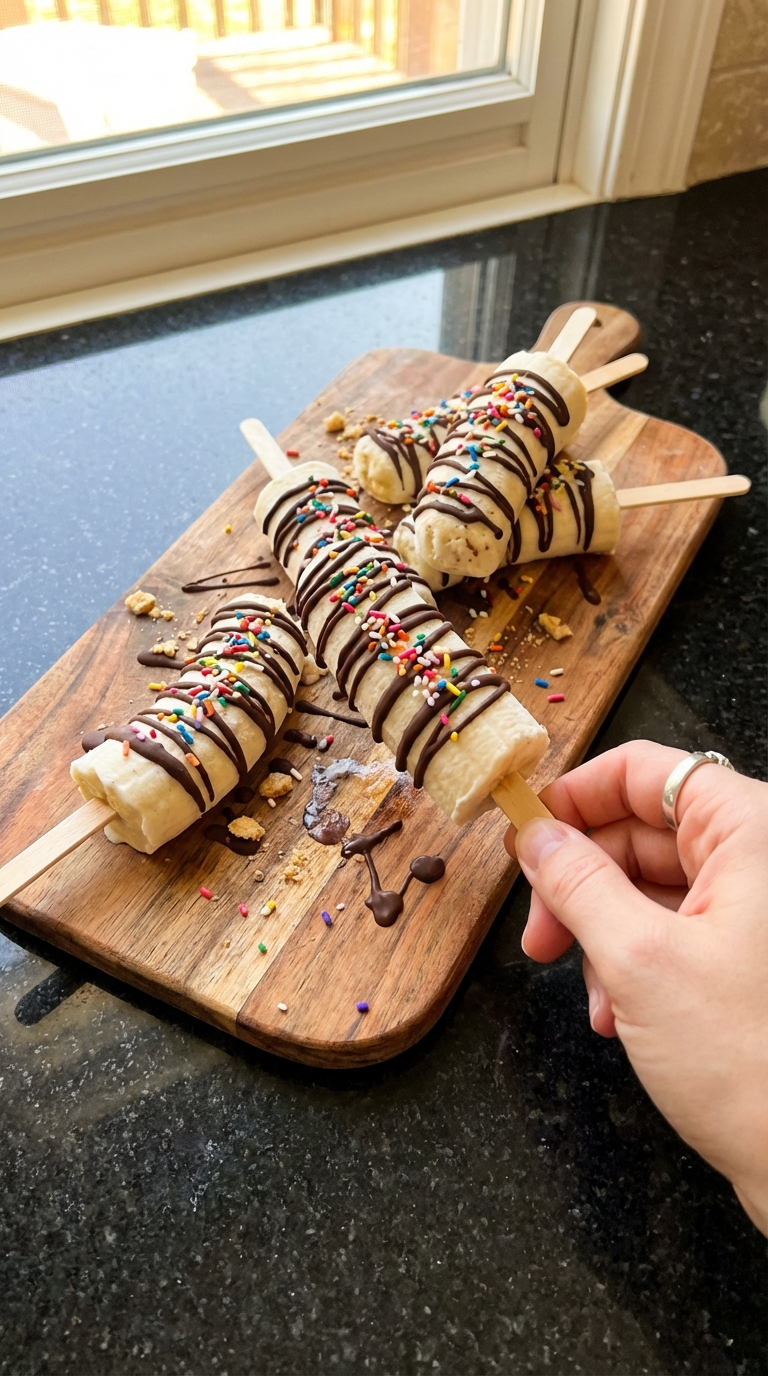
I love making Frozen Yogurt Banana Pops on hot summer days. This recipe is not only simple but also a fun activity to do with kids. The creamy yogurt coating paired with sweet bananas creates a delicious treat that feels indulgent while being healthy. I enjoy customizing them with various toppings like nuts and chocolate chips, making each pop unique. They’re perfect for afternoon snacks or dessert, and I promise they’ll be a hit at your next gathering!
I can’t tell you how many times I've made these Frozen Yogurt Banana Pops! They transform ordinary bananas into something extraordinary, and I love experimenting with different yogurt flavors. What I’ve found is that using Greek yogurt adds just the right amount of creaminess while providing a protein boost, making them a guilt-free treat.
The secret to getting that perfect pop is freezing them for at least two hours. This allows the yogurt to set around the banana, creating a delightful contrast between the soft fruit and the creamy coating. Serve them at your next get-together, and watch them disappear!
Why You'll Love This Recipe
- Creamy yogurt that's refreshing and satisfying
- Easy to customize with your favorite toppings
- A healthy yet indulgent treat for any occasion
Choosing the Right Bananas
Selecting ripe bananas is crucial for achieving the ideal texture and sweetness in your Frozen Yogurt Banana Pops. Look for bananas that are slightly speckled with brown spots; these indicate ripeness and enhanced sweetness. If you only have green bananas, allow them to ripen at room temperature for a few days until they reach the perfect yellow color. Overripe bananas can also work, but they can be overly soft, making them tricky to handle.
For those who are concerned about using fully ripened bananas, consider opting for slightly firmer ones. This choice will ensure that they maintain their structure during freezing, preventing them from becoming mushy after being coated in yogurt. Remember, finding the right balance will not only enhance flavor but also provide a more enjoyable eating experience.
Yogurt Coating Techniques
When it comes to coating the banana halves with yogurt, I find that a deep, wide bowl works best. This allows for ample space to dip the bananas fully and ensures an even coating. For a thicker layer, let excess yogurt drip off for a few seconds before placing them back on the parchment-lined sheet. This step prevents the yogurt from freezing in clumps and provides a smoother finish.
Consider experimenting with flavored Greek yogurt, such as strawberry or mixed berry, for an unexpected twist on taste. If you're keeping it simple with plain or vanilla Greek yogurt, a tablespoon of honey can enhance the sweetness directly and help the yogurt adhere better. The interaction between the natural sugars in the honey and the banana’s sweetness creates a deliciously creamy treat that’s refreshingly tasty.
Ingredients
Frozen Yogurt Banana Pops Ingredients
- 2 large ripe bananas
- 1 cup Greek yogurt (vanilla or plain)
- 1 tablespoon honey (optional)
- 1/2 cup chocolate chips or nuts (for toppings)
Feel free to switch up the ingredients with your preferred flavors!
Instructions
Prepare Bananas
Peel the bananas and cut them in half. Insert a popsicle stick into the cut end of each banana half and place them on a baking sheet lined with parchment paper.
Coat with Yogurt
In a mixing bowl, combine the Greek yogurt and honey (if using). Dip each banana half into the yogurt, coating it thoroughly.
Add Toppings
Sprinkle your choice of chocolate chips or nuts on top of the yogurt-coated bananas to add a crunchy texture.
Freeze
Place the baking sheet in the freezer and freeze the banana pops for at least 2 hours or until fully set.
Once frozen, enjoy your delicious pops!
Pro Tips
- For added fun, try rolling the yogurt-coated bananas in crushed graham crackers or shredded coconut before freezing.
Topping Variations
The toppings you choose can transform these pops from simple to sensational. While chocolate chips and nuts add a satisfying crunch, try incorporating granola, shredded coconut, or even crushed freeze-dried fruit for a touch of color and flavor. Just be sure to sprinkle the toppings on the yogurt layer while it’s still wet to ensure they stick properly. I love adding a mix of different toppings for a varied texture in each bite.
If you're looking to keep the recipe healthier, consider using chopped dried fruits and seeds instead. Sunflower seeds or pumpkin seeds not only provide a nutritious boost but also add an interesting nutty flavor that pairs well with bananas. Plus, they’re an excellent option for those who need nut-free snacks for school or gatherings.
Storage and Make-Ahead Tips
The beauty of Frozen Yogurt Banana Pops is that they can be made ahead of time and stored for quick, healthy snacks. Once fully frozen, transfer the pops to a freezer-safe container, layering them carefully with parchment paper to prevent sticking. They can be stored in the freezer for up to three months without losing quality. Just remember to let them sit at room temperature for a couple of minutes before serving to soften slightly, making them easier to bite into.
For those looking to scale up the recipe for a gathering, simply double the ingredients and ensure you have enough popsicle sticks and space in your freezer. You can even create themed pops by mixing unique flavors of yogurt or using small chunks of fruit in the yogurt before coating. This will not only impress your guests but also make for a fun custom pop experience.
Questions About Recipes
→ Can I use other fruits?
Absolutely! Strawberries, peaches, or even kiwi work wonderfully.
→ How long can I keep them in the freezer?
These frozen pops can last up to a month in an airtight container.
→ Can I make them dairy-free?
Yes, substitute Greek yogurt with coconut yogurt or any non-dairy yogurt of your choice.
→ What other toppings can I try?
Get creative! Try granola, shredded nuts, or even sprinkles for a fun twist.
Frozen Yogurt Banana Pops
Created by: The Freshbitesonly Team
Recipe Type: Sweet Baking Recipes
Skill Level: Easy
Final Quantity: 6 pops
What You'll Need
Frozen Yogurt Banana Pops Ingredients
- 2 large ripe bananas
- 1 cup Greek yogurt (vanilla or plain)
- 1 tablespoon honey (optional)
- 1/2 cup chocolate chips or nuts (for toppings)
How-To Steps
Peel the bananas and cut them in half. Insert a popsicle stick into the cut end of each banana half and place them on a baking sheet lined with parchment paper.
In a mixing bowl, combine the Greek yogurt and honey (if using). Dip each banana half into the yogurt, coating it thoroughly.
Sprinkle your choice of chocolate chips or nuts on top of the yogurt-coated bananas to add a crunchy texture.
Place the baking sheet in the freezer and freeze the banana pops for at least 2 hours or until fully set.
Extra Tips
- For added fun, try rolling the yogurt-coated bananas in crushed graham crackers or shredded coconut before freezing.
Nutritional Breakdown (Per Serving)
- Calories: 100 kcal
- Total Fat: 4g
- Saturated Fat: 2g
- Cholesterol: 5mg
- Sodium: 30mg
- Total Carbohydrates: 15g
- Dietary Fiber: 2g
- Sugars: 9g
- Protein: 3g