Halloween Themed Cake Recipe: An Incredible Ultimate 5-Layer Delight
Halloween themed cake recipes abound, each promising to captivate your senses and bring the spirit of the holiday alive. This particular cake is an incredible creation that stands out among the rest, making it a perfect centerpiece for any Halloween gathering. Imagining slices of this delightful dessert brings excitement as it conjures images of spooky decorations and joyful celebrations. The layers of this cake are like a trick-or-treat experience, where every bite reveals delicious surprises that are hauntingly delightful.
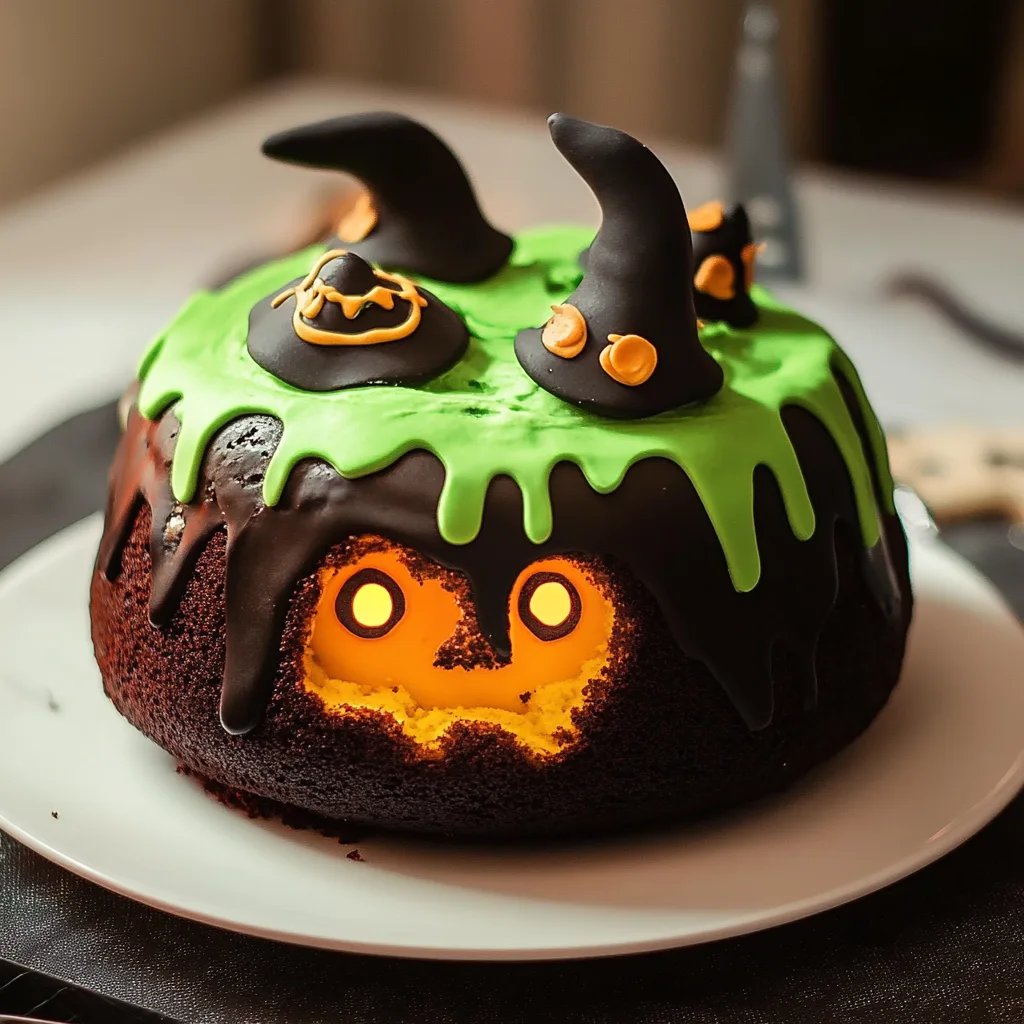
Incorporating flavors and decorations that embody the Halloween spirit, this cake recipe is sure to impress friends and family. Picture a moist and flavorful cake adorned with ghoulish yet adorable decorations, providing both visual appeal and mouth-watering tastes. Whether you are attending a gathering or hosting your own Halloween bash, this cake will undoubtedly be the star of the show.
As you embark on this baking journey, you will not only create a Halloween themed cake but also engage in an enjoyable activity that can turn into a fun tradition. From selecting ingredients to decorating the layers, every step will fill your home with warmth and joy. Join me as we explore all the essential steps to create the ultimate Halloween themed cake recipe!
Why You’ll Love This Recipe
Decorating cakes for Halloween can be a playful and creative experience. Here’s what makes this Halloween themed cake recipe so special:
- Unique Layers – With five delightful layers, this cake offers different flavors that keep every bite exciting.
- Fun Decorations – Utilize frosting, candies, and fun toppings that capture the Halloween vibe.
- Easy to Make – Despite its impressive appearance, the steps are simple enough for bakers of all levels.
- Perfect for Sharing – This cake is great for parties, and its size allows you to share generously with friends and family.
- Memorable Experience – The hands-on approach to decorating will create lasting memories with loved ones.
This recipe brings joy to your kitchen while celebrating the seasonal spirit of Halloween. It’s not just dessert; it’s more like a thrilling adventure!
Preparation and Cooking Time
Creating your Halloween themed cake will take approximately 2 hours from start to finish, providing you with not only a delicious dessert but also enjoyable moments in the kitchen. Here’s a breakdown of the time involved:
- Preparation Time: 50 minutes
- Cooking Time: 50 minutes
- Cooling Time: 20 minutes
This timeframe gives some flexibility for chatting or enjoying other Halloween preparations!
Ingredients
- For the Cake:
- 2 cups all-purpose flour
- 1 ½ cups granulated sugar
- ½ cup cocoa powder
- 1 cup buttermilk
- ½ cup unsalted butter, softened
- 3 large eggs
- 1 tablespoon baking powder
- ½ teaspoon vanilla extract
- ½ teaspoon salt
- 1 cup orange food coloring (or natural coloring)
- For the Frosting:
- 1 cup unsalted butter, softened
- 4 cups powdered sugar
- 4 tablespoons milk
- 1 teaspoon vanilla extract
- Black and purple food coloring (for decoration)
- Halloween-themed sprinkles, candies, and decorative eyeballs
Step-by-Step Instructions
Follow these steps to create your Halloween themed cake that will surely enchant everyone:
- Preheat the Oven: Start by preheating your oven to 350°F (175°C). Grease and flour five 8-inch round cake pans.
- Mix Dry Ingredients: In a bowl, whisk together all-purpose flour, cocoa powder, baking powder, and salt.
- Blend Wet Ingredients: In another large mixing bowl, beat the softened butter with granulated sugar until light and fluffy. Add eggs, one at a time, mixing thoroughly. Then add the buttermilk and vanilla extract.
- Combine Mixtures: Gradually incorporate the dry ingredient mixture into the wet ingredients until well combined. Divide the batter evenly among the prepared pans.
- Color the Batter: Add orange food coloring to four of the cake pans, creating a vibrant, festive look. Leave the fifth layer its natural color.
- Bake: Place the pans in the oven and bake for 25-30 minutes or until a toothpick inserted in the center comes out clean.
- Cool the Cakes: Once baked, remove them from the oven and allow the layers to cool in their pans for about 10-15 minutes before transferring them to wire racks to cool completely.
- Prepare the Frosting: In a large bowl, beat the softened butter until creamy. Gradually add powdered sugar and mix in the milk and vanilla extract until smooth. Divide the frosting into three bowls: leave one white, tint one black, and another purple.
- Layer the Cake: Place one layer (preferably the orange layer) on a serving plate. Spread a layer of frosting on top, followed by the next layer and repeat until all layers are stacked.
- Frost the Cake: Once the layers are assembled, coat the top and sides generously with the white frosting. Create a smooth finish, and optionally form some decorative swirls.
- Decorate: Use the black and purple frosting in piping bags to create spooky designs or patterns on the sides and top. Add sprinkles, candies, and decorative eyeballs as desired.
These steps result in a visually stunning Halloween themed cake that will wow your guests as much as it delights their taste buds!
How to Serve
When it comes to serving this Halloween themed cake, there are several ways to make it a memorable experience:
- Presentation: Use a spooky cake stand or place it on a decorated platter for a striking display.
- Slice Carefully: Cut slices that showcase the colorful layers, highlighting the gradients of orange and chocolate.
- Add Fun Toppings: Consider serving slices with some whipped cream and additional decorative candies to amp up the festivity.
- Pair with Beverages: Hot cider, pumpkin spice lattes, or even some festive cocktails can make your dessert table even more appealing.
- Theme-Up the Table: Use Halloween decorations, like mini pumpkins, ghosts, or cobwebs, around the cake to set the mood.
By creating an atmosphere that complements your delicious Halloween themed cake, you enhance the overall experience for your guests, creating memories that will last long after the cake is gone.
Now, roll up your sleeves, gather those ingredients, and bring the spooky spirit of Halloween to life in your kitchen!
Additional Tips
- Use Quality Ingredients: For the best flavor and texture, choose high-quality cocoa powder and fresh eggs.
- Chill the Frosting: If your frosting is too soft, refrigerate it for 15-20 minutes to firm it up before decorating.
- Piping Practice: Test your piping skills on parchment paper before decorating your cake to ensure you get the designs just right.
- Layer Evenly: Use a cake leveler or a serrated knife to trim any domed tops off your cake layers for a flat, even stack.
- Make It a Family Activity: Get the kids involved in the decorating process. It's a fun way to bond and allow creativity to shine!
Recipe Variation
Feel free to switch things up! Here are a few variations for your Halloween themed cake recipe:
- Spooky Spice Cake: Substitute some flour for pumpkin puree and add warm spices like cinnamon and nutmeg for a seasonal twist.
- Red Velvet Layer: Use red velvet cake for one of your layers for a striking contrast next to the chocolate and orange.
- Ghoulish Filling: Consider adding a layer of candy corn or crushed Halloween-themed chocolates between the cake layers for an extra sweet surprise.
- Vegan Option: Substitute eggs with flaxseed meal, use a non-dairy milk, and replace butter with a plant-based option for a vegan version.
Freezing and Storage
- Storage: Keep the cake covered in an airtight container in the refrigerator for up to 5 days. This helps retain moisture and freshness.
- Freezing: You can freeze individual slices or the whole cake for up to 3 months. Wrap it well in plastic wrap and then in aluminum foil to prevent freezer burn.
Special Equipment
To successfully prepare your Halloween themed cake, gather the following essential tools:
- Five 8-inch round cake pans
- Electric mixer (handheld or stand mixer)
- Mixing bowls (various sizes)
- Offset spatula for frosting the cake
- Cake leveler or serrated knife
- Piping bags and tips for decorating
- Cooling racks to cool the layers
- Measuring cups and spoons
Frequently Asked Questions
How do I know when the cake is done baking?
Insert a toothpick into the center of the cake. If it comes out clean or with a few crumbs, the cake is ready.
Can I make this cake ahead of time?
Yes, this cake can be made a day in advance. It's actually recommended as it allows the flavors to meld.
Is this cake suitable for dietary restrictions?
You can modify the recipe by using gluten-free flour, dairy-free alternatives, or reducing sugar to accommodate dietary needs.
Can I skip the food coloring?
Absolutely! The colors are for visual appeal, and you can make a spooky-looking cake without them.
What can I do with leftover frosting?
Leftover frosting can be refrigerated for up to a week or frozen for future use. It can also be used as a filling in cookies or cupcakes.
Conclusion
This Halloween themed cake recipe is more than just a dessert; it’s a celebration of creativity and festivity. The vibrant layers and ghoulish decorations create a delightful ambiance that’s perfect for any Halloween gathering. Whether it's the satisfying taste of chocolate or the fun of decorating, this cake is bound to mesmerize your guests and provide unforgettable moments. Dive into this delightful baking adventure, and you’ll be rewarded with a spooktacular treat that captures the spirit of Halloween in every bite!