Old Fashioned Vanilla Fudge: An Amazing Ultimate Recipe
Old Fashioned Vanilla Fudge is a delightful treat that brings warmth and nostalgia, reminding many of simpler times and cherished memories. Its creamy texture and rich flavor make it a timeless confection, enjoyed by people of all ages. Whether served at holiday gatherings, family reunions, or simply as an indulgent snack, this fudge evokes feelings of comfort and joy. With its sweet, buttery taste, Old Fashioned Vanilla Fudge is not just a dessert; it's an experience that resonates with traditions passed down through generations.
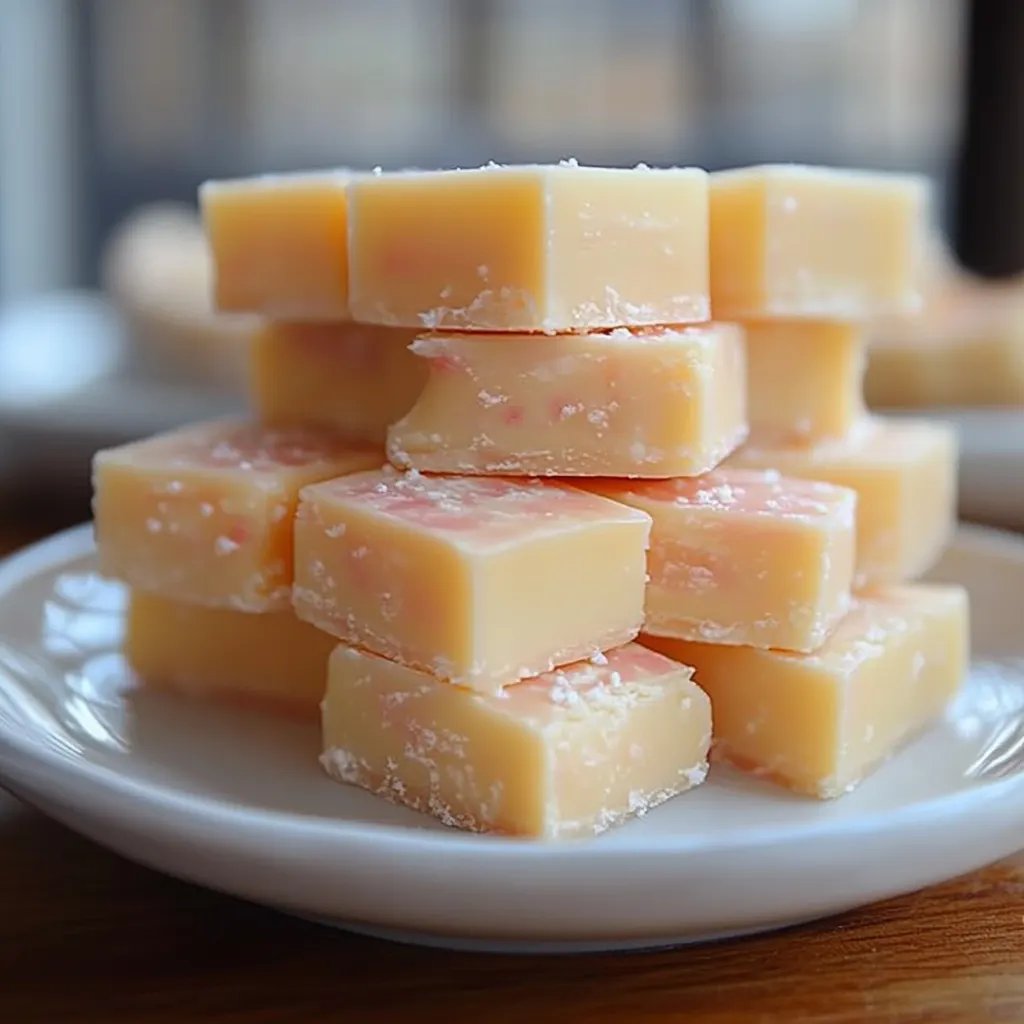
Imagine unwrapping a piece of this decadent fudge, feeling its richness melt in your mouth. The smooth vanilla flavor pairs beautifully with its luscious sweetness, creating a blissful harmony that is simply irresistible. This proper recipe guides you through every step, ensuring that you'll replicate that nostalgic experience perfectly. Many who have tasted it often recall the love that went into making it, and now you can create those same memories in your kitchen.
So, if you're ready to indulge in an incredible sweet creation that warms the heart, join me as we explore why Old Fashioned Vanilla Fudge deserves a spot in your dessert repertoire. Not only will you learn the techniques to master this recipe, but you'll also find tips for serving it in a way that will impress your guests. Let’s dive into the delightful world of fudge making!
Why You’ll Love This Recipe
There are so many reasons to love Old Fashioned Vanilla Fudge, and it’s truly an indulgence that offers something for everyone. Here are the standout features that make this fudge a must-try:
- Simple Ingredients – You likely already have most of the ingredients in your pantry.
- Quick to Make – In less than an hour, you can whip up a batch that’ll satisfy everyone’s sweet tooth.
- Classic Comfort – The familiar flavor and texture will evoke joyous memories.
- Perfect for Gift Giving – Wrap it up beautifully, and you'll have a thoughtful homemade gift.
- Versatile Treat – Enjoy it plain, or add nuts or chocolate swirls for extra dimension.
- Easy to Customize – Adjust the vanilla intensity to your liking or explore flavor variations.
These enticing attributes make Old Fashioned Vanilla Fudge a favorite for gatherings, holidays, and everyday treats. Its rich, buttery taste pairs well with a warm cup of coffee or a chilled glass of milk, making it a delightful indulgence any time of day.
Preparation and Cooking Time
Get ready to delight your taste buds with Old Fashioned Vanilla Fudge! The preparation and cooking time is surprisingly quick, so you'll soon have this delicious treat ready to enjoy. Here's a quick overview of the timing involved:
- Preparation Time: 15 minutes
- Cooking Time: 20-25 minutes
- Cooling Time: 2-3 hours (for proper setting)
Overall, you can expect a total time of about 2-3 hours, allowing for the fudge to cool and firm up. This time frame ensures that you end up with perfectly set and sliceable fudge ready to serve.
Ingredients
- 2 cups granulated sugar
- 1 cup heavy cream
- ¼ cup unsalted butter
- 1 teaspoon vanilla extract
- ¼ teaspoon salt
- 1 cup miniature marshmallows (optional, for creaminess)
- 1 cup chopped nuts (optional, for added texture)
Step-by-Step Instructions
Making Old Fashioned Vanilla Fudge is a rewarding experience, and following these steps will ensure success:
- Prepare the Pan: Line an 8-inch square baking dish with parchment paper, allowing some overhang for easy removal later.
- Combine Sugar and Cream: In a medium saucepan, combine the granulated sugar and heavy cream over medium heat. Stir gently until the sugar is dissolved.
- Add Butter: Add the unsalted butter to the mixture. Increase the heat to bring it to a gentle boil, stirring constantly to prevent burning.
- Cook It: Once boiling, stop stirring and let it boil undisturbed for about 5-7 minutes. You want the mixture to reach the soft-ball stage (approximately 240°F or 115°C).
- Stir in Vanilla: Remove the saucepan from heat. Stir in the vanilla extract and salt, mixing well.
- Add Marshmallows and Nuts: If using, incorporate the miniature marshmallows and chopped nuts. Stir until the marshmallows melt into the mixture.
- Pour into the Pan: Quickly pour the fudge mixture into the prepared baking dish, spreading it evenly.
- Cool: Allow the fudge to cool at room temperature for 2-3 hours, or until set.
- Slice and Serve: Once set, lift the fudge out using the parchment overhang. Slice into squares.
By following these simple steps, you’re on your way to making delicious Old Fashioned Vanilla Fudge that will impress anyone who tastes it.
How to Serve
Serving Old Fashioned Vanilla Fudge can be just as delightful as making it! Here are some tips to elevate your presentation and serving experience:
- Presentation: Cut the fudge into neat squares and display them on a decorative platter or cake stand for visual appeal.
- Garnishing: Consider a dusting of cocoa powder or powdered sugar for an elegant touch. You can also drizzle melted chocolate over the top for an indulgent upgrade.
- Accompaniments: Pair your fudge with fresh fruit, like berries or slices of apples, to balance the sweetness. Serve with warm drinks like coffee or hot cocoa.
- Gift Wrapping: If you plan to give fudge as a gift, wrap it in festive cellophane and tie it with a ribbon for a charming presentation.
- Storage Tips: Keep any leftover fudge in an airtight container at room temperature for up to a week, or refrigerate it for longer freshness.
Enjoying Old Fashioned Vanilla Fudge is about celebrating its rich, buttery flavor and sharing it with those you love. So, as you serve it up, share the joy and warmth that this timeless treat brings!
Additional Tips
- Use Fresh Ingredients: For the best flavor, ensure your butter and cream are fresh. Fresh ingredients make a noticeable difference in the taste of your Old Fashioned Vanilla Fudge.
- Use a Candy Thermometer: To achieve the perfect texture, consider using a candy thermometer. This will help you reach the soft-ball stage accurately.
- Avoid Humidity: Make fudge on a dry day. Humidity can interfere with the setting process. It’s best to avoid preparing fudge when the weather is damp.
- Stir Gradually: When adding vanilla extract and any optional ingredients like nuts or marshmallows, stir them in gradually. This will help incorporate them without cooling the mixture too quickly.
Recipe Variation
Experiment with the classic recipe to create a fudge that suits your tastes. Here are some variations to try:
- Chocolate Swirl Fudge: Add semi-sweet or dark chocolate chips to the mixture and swirl them just before pouring it into the pan for a delightful chocolate twist.
- Peanut Butter Fudge: Mix in a half cup of creamy peanut butter after removing the saucepan from the heat. Stir until smooth for a nutty flair to your Old Fashioned Vanilla Fudge.
- Maple Vanilla Fudge: Replace the vanilla extract with pure maple extract to give your fudge an earthy, sweet flavor.
- Coconut Cream Fudge: Add shredded coconut to the mixture for a tropical variation. This can add texture and a lovely coconut flavor.
Freezing and Storage
Proper storage is essential for maintaining the quality of your Old Fashioned Vanilla Fudge. Here are some guidelines:
- Storage: Keep the fudge in an airtight container at room temperature. It will stay fresh for up to one week, retaining its delicious texture and taste.
- Freezing: You can freeze the fudge for longer storage. Cut it into squares and wrap each piece tightly in plastic wrap, then place it in a freezer-safe bag. It will keep well for up to three months. When you’re ready to enjoy, thaw it in the refrigerator overnight.
Special Equipment
Along with basic kitchen tools, here are some specific items that will aid in making your Old Fashioned Vanilla Fudge:
- Candy Thermometer: To monitor the temperature accurately and achieve the perfect consistency.
- Medium Saucepan: A sturdy saucepan for cooking your fudge mixture.
- Spatula: For scraping the fudge into the pan and smoothing it out.
- 8-inch Square Baking Pan: To set the fudge properly.
- Parchment Paper: For easy removal and clean-up.
Frequently Asked Questions
How do I know when my fudge is done cooking?
You can test it by dropping a small spoonful into cold water. If it forms a soft ball that holds its shape, it’s ready.
Can I use a substitute for heavy cream?
While heavy cream is ideal for rich fudge, you can use whole milk. However, this may result in a less creamy texture.
Why is my fudge grainy?
Graininess can occur if the sugar does not dissolve completely or if the mixture is stirred too vigorously while boiling.
How do I get my fudge to set properly?
Allow the fudge to cool undisturbed at room temperature. Avoid refrigeration while it is setting as that can lead to a gritty texture.
Can I add flavorings other than vanilla?
Absolutely! Feel free to explore other extracts like almond, peppermint, or lemon for unique flavors.
Conclusion
Old Fashioned Vanilla Fudge is more than just a treat; it’s a cherished recipe that carries the essence of family gatherings and sweet memories. By following the recipe along with these tips and variations, you can easily bring this classic confection to life in your own kitchen. Whether you choose to enjoy it on its own or gift it to loved ones, Old Fashioned Vanilla Fudge is sure to bring smiles and satisfaction. So grab your ingredients and start creating a memorable experience that you and your family will treasure for years to come!